Showing posts with label tailor. Show all posts

Thursday, October 11, 2012

My PHD in Crafts

That's Projects Half Done, by the way. I started blogging not 2 months ago because I had an insane amount of time on my hands. I made stuff every day, and I felt like my efforts deserved a bit more than an Instagram photo on my Facebook feed. In the last 3 weeks, my free time has plummeted. 

I walk through my house, bleary-eyed in the middle of the afternoon, and all I see are projects.... incomplete projects. *dramatically falls to the floor*

Yes, I've been busy for the first time in a long time. Ok, ever.  I really have no idea where the last week went. 

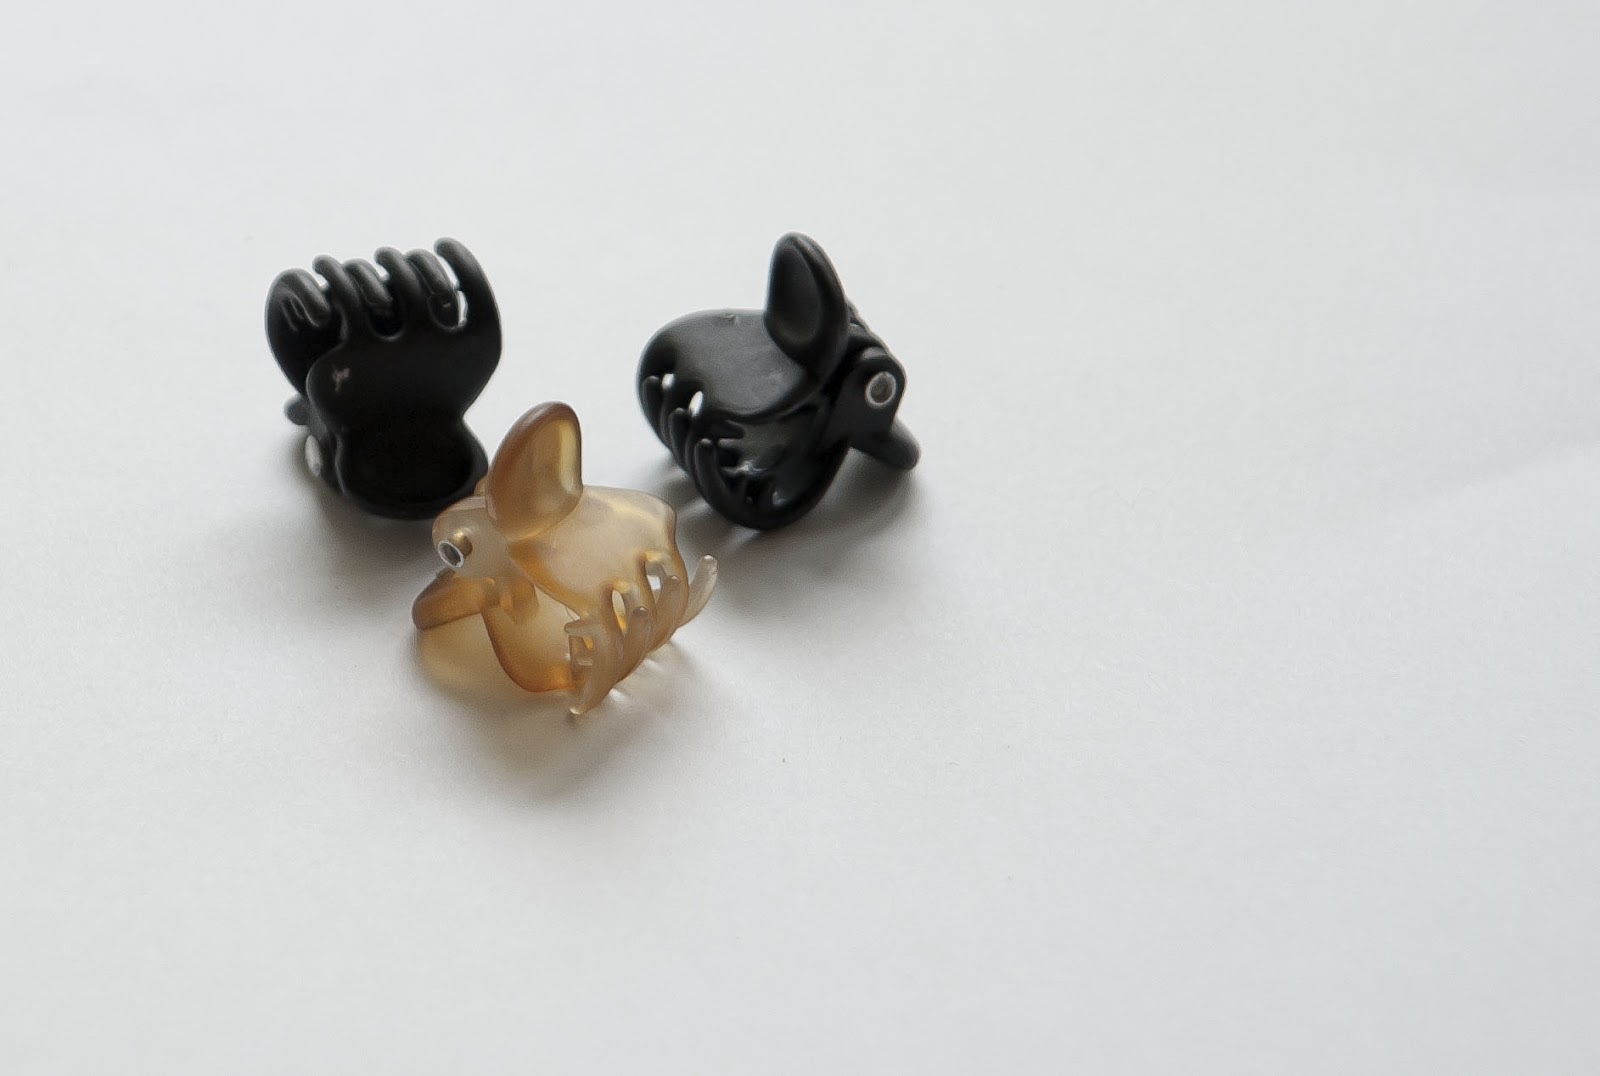
Exhibit A: Almost all the way finished coin purses to donate to the thrift store. (made from the sleeves of thrifted men's shirts, of course) 

Exhibit B: The stack of jeans, half cut up into squares, that may eventually be a jean quilt. 

Then there are things that aren't even worth photographing. Like the stuffed fish that I had to gut to get the broken song box out of, that I never closed back up.  The purse pattern that I have the interfacing cut out for, but nothing else. My 3/4 yard piece of green felt that I hope I can turn into a Christmas countdown calendar with 25 individual handmade felt ornaments before December 1st. The heap of thrift store clothes, the ACU jacket scraps that need to be transformed by Oct 30th for a fundraiser, two pairs of  pants that I promised someone I would tailor for them, and have done by today....oh, and I just adopted 3 more skeins of yarn this morning. Meanwhile, I'm wearing my favorite pullover sweatshirt that has a ripped seam in the armpit that I've known about for over a year now, and never fixed. 

I'm so eager to get back into the swing of things. I just feel so off when I go this long without creating something. 

The very wonderful news, and the reason that I've been so busy, is that I have  budding social life! I've never been much of a social person, but I suppose living in this very tiny community forced me into it, and it feels good. Between mommy group, photography group, craft group, and just knowing people in general, I can't leave the house without running into someone I know. It really makes this place feel more like home. It's pretty cool. :)

---CJ 

Pin It

Monday, September 17, 2012

Scarf Weather

In my pre-blog days (a few weeks ago) I didn't accessorize much. On a good day I would wear shoes that matched my "outfit." It's just that accessories aren't cheap. You see, I have the problem that a lot of mothers have where, for about the first 3 years of your child's life, you feel super-guilty doing anything except bending over backwards for them. Every time I have a want, I think about how the money could be better spent on Dom. 

Then I realized that he had a much nicer wardrobe than me . 

I'm slowly getting over it.  I'm proud to say that I've bought a few pairs of jeans recently to replace the one's I've been wearing since high school. 

But accessories are still too expensive to me. I don't like spending more on the little details of an outfit than the major components! It's nuts! Scarfs are super trendy now, I like them, and they're easy and CHEAP to make! Double win!

We all have tops that are clinging around our drawers (or hanging out at the thrift store) that we love, but refuse to get rid of. They don't fit, and they're never going to fit... but but but..... 
Hi, I'm too short. 

Too revealing. 

Too much... stuff. 

The process is pretty much the same for all of these:

Chop the top. For the jersey knit tops, this is all you have to do. Since this one is cotton, there's an extra step. 

Rake your nail along the edge, to give it that frayed-fringy look. 

Taa-daa!

If you shirt isn't wide enough to wrap around your neck twice, it helps to make it look fuller by sewing it into a trapezoid shape. Like so:


My dotted line is just accentuating my trapezoid, you would only sew the sides, not the top and bottom. 


Three new scarfs for under a dollar! I can live with that :) 

---CJ 


Pin It

Friday, September 14, 2012

Cardigan Rejuvenation

As I mentioned yesterday, it's just about sweater season here in Germany.  This morning I pulled out my only favorite cardigan. I've had it for years. I wore it a lot during the brisk Florida "winters." Sadly, the years have not been kind to my dear cardigan. It's stretched out in weird ways, and either the sleeves shrunk or my arms got longer. 

It needs some love. You can see on the left side (my right) how saggy the shoulder has gotten from hanging on a hanger for many years, thus making the sleeve a weird length for me. It looks ok when my arms are down, but in any other position, it's in this mid-forearm-wrist area...anyway they look to short. Also, I have to point out  the very unattractive armpit crease thing going on. 

On the right side I folded up the cuff to where I think it would look good, and clipped the width of the sleeve as well. I like to give myself a visual before I get to sewing, and safety pinning with one hand is not fun. 

These guys work great. Did you ever notice on Say Yes To The Dress, when the dressed are too big, they don't pin them, they clamp them! It works! 

First, I will shorten the sleeves. With the cardi right side out, fold the cuffs up as far as you want them shortened (everything to the outside of the original cuff will be cut off, and the original cuff will stay intact) Stitch around the sleeve, over the existing cuff seam. 

After I cut off the excess from the cuffs, I turned the Cardigan inside out, then measured and pinned how much I wanted to take the sleeves in. 

I stitched them up and chopped the excess. 

Now my good 'ol cardigan looks cute and fitted, rather than baggy and sloppy!

I'm so happy I was able to extend the life of this piece! 

--CJ 


Pin It

Wednesday, September 12, 2012

Awkward Pants Deserve A Second Chance

I got these pants at the $5 bag sale. I tried them on, and they looked ok! I figured I'd shorten them up and we'd be good to go. Well, I got them home, put them back on, and turned around in front of the mirror...


Hold the phone... That is some really gross bunchy butt action going on. Fixing pants is still kind of uncharted territory for me, and taking them in from the sides wasn't going to cut it this time. I threw them in my pile, disgusted, and figured I'd re-donate them to the Thrift store. 

Well, I got the up courage today to take another stab at fixing these things. I really would like a relaxed pair of kaki pants, and what was the worst that could happen? 

I tried something that I was really unsure of, I pinned up the butt seam all the way from the waistband to the bottom of the zipper. Then I took it in about an inch at the widest part, tapering in at the ends (the waistband and the zipper). I also removed the back pockets, that weren't really pockets anyway, they just added even more butt bulk, so they had to go. 

Here's another view of the butt seam, it's a weird seam to re-sew, so be very careful that both layers are going through the machine and not bunching up. 

After my bum was re-done, I decided to take a little bit in on the inner thighs. Lay everything really flat, and stitch in STRAIGHT lines. A curved line makes weird blobs on your legs. Believe me, I had to re-sew a few times to make sure everything was super straight. I also sewed shut, and snipped off the front pockets. 

Then after the obligatory shortening by about half a foot, they're done! 

...And check that out! Major improvement! 

With it feeling awfully Autumn-y today, I'm excited to have a "new" pair of pants! 


--CJ 

Pin It

Tuesday, September 11, 2012

Just Another DIY T-Shirt Makeover

This past weekend marked the beginning of football season. Football is, by far, my favorite sport (to watch. I don't play sports. I'm small, weak, and I have bad joints.) Anyhow, I love it so so much that I am in two fantasy football leagues, I have a closet full of jerseys, and I stay up to the wee small hours in the morning to watch it live. Yes, football starts at 7PM here. The Sunday night game ends around 5AM. I don't usually stay up for the "night" game, but this time, the coffee I drank to keep me up till 2AM did just that.... then woke me back up at 3:30.... I managed to get back to sleep at 6:45. Dom woke up at 9. 

Yesterday I was a zombie. 

Today is a new day, and I have a date with the craft store. The fun thing about having an unruly heap of thrift store clothes waiting to be revived, is I can wear something new pretty often! I just have to earn it!
What other way to get back into the swing of things than a good 'ol t-shirt makeover?! I LOVE this shirt! It appears that whoever had it before me did not love it, because it looks like it's never been worn! Yay! Now to make it fit!

I took it in 2 1/2" from the sleeves to about half way down the body, then tapered it out a little towards the bottom. 

This shirt was too long, but I didn't want to loose the stripey bottom. So I stitched two straight lines down the sides at the bottom. These are going to be a tie casing. 

I threaded some ribbon onto a needle with a big eye...

And threaded it through my casing.

Once you get to the top of the casing, pull the needle through the side seam. I needed to use pliers to pull the needle through, it was a tight squeeze. 

Now cut the ribbon of of the needle, and tie a knot. 

Now you can gather up the extra length and tie a bow...

...Or just sew the ribbon in place and cut off the excess. 

Now I have a cool new comfy tee!

Off to the craft store I go! 

---CJ 

Pin It

Friday, September 7, 2012

Awkward People Deserve Pants Too

It's true... We do. If it isn't obvious in previous pictures of me, I'm really short. Like under 5' tall. I also have a small waist, wide child-birthing hips, and...how do they say... junk in the trunk. I know I know, I shouldn't be complaining, but pants have been a sore spot in my life. 

These are New York & Co. stretch trousers, and they're too big... in places. 
Here's my Subway commercial pose. If I learned only on thing from What Not To Wear, it's find things that fit your biggest part, then tailor the rest to fit the smaller parts. Because looking like a sausage is not ok. 

These fit my bum and hips. Now for the make smaller part. 

Put your pants on inside out. Pinch and pin until you get your shape just right. You will soon understand why "safety" pins are called that if you decide to do this with straight pins. 

All pinned up!

Once you take your pants off, carefully measure how much you're taking in on each side, making sure it's the same on both sides. Pin and sew!


I got lucky, and they fit just right on my first try. So I cut off the excess, and stitched a zig-zag over the open edges. 

Now for the hem, which is something I've been doing forEVER. Measure the inseam of a pair of pants that are already the right length on you, OR measure from your crotch to the floor and deduct about 1/2". With your pants inside-out fold up the cuff until the bottom edge is your desired length. Pin, press, and try them on. You will probably need to adjust the length one way or another. I ended up going about 2 whole inches shorter than this, I swear I thought I had a 28" inseam. Maybe I'm shrinking, or my brain is failing me... or both. 

You can hem these by hand so there is no visible seam, but I'm lazy I don't mind how the seam looks. 

Taa Daa! No clingy-booty-sausage-thigh!

Now, I've never owned "trousers" before. They always seemed like stuffy office wear to me. Turns out, they are just a fancy looking pair of pajama pants. These things are comfy! I'm so happy to have something other than jeans in my pants repertoire! 

BTW: 19¢ from the bag sale ;) 

--CJ


Pin It