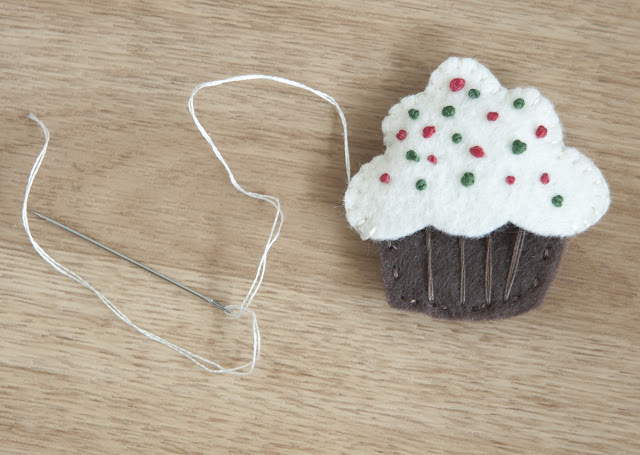
Last Christmas was my first Christmas since I discovered Pinterest. Of all the unrealistic holiday crafting ideas that entered my head THIS was the king.
Oh, yes, a harmless felt advent calendar. I think it was October when I decided to take this on. I made the tree, equipped with super strong magnets to hold my (non-existant) 25 intricately stitched ornaments, in about an hour. That is all I accomplished last year. Naked tree.
This poor thing has been hanging around my craft area for 8 months. Last week, I made a giant leap forward and stitched around my circles. I decided that it was time to start thinking about maybe working on this again.... soon. "I'll just make an ornament a week!" No pressure, I can totally manage this. Well, I took a looksie at the calendar... I don't just need this to be done by Christmas, It needs to e done before 1 December... That leaves me with 20 1/2 weeks. Yes, friends, That's all there is between now and December. Better get my butt in gear!
I decided this is a good way to keep me on track, and it's fun for all! Felt ornament sew-along! I'm doing all of mine with magnets, but a string or velcro can be used just as easily. This week I did an in depth, step-by-step, but the techniques will be the same, just different shapes from here on out.
Here is a wonderful resource for embroidery stitches:
AND
A refresher on the joys of working with Eco-Felt:
^First, Print out your pattern^
You will need:
Felt
embroidery floss
fusible interfacing
needle
magnet/velcro/thread loop hanger/buttons/whatever
Now gather your felt...
...Yes, I have a problem.
I cut out my pattern, but it would be a lot smarter to just trace the pattern onto your fusible interfacing. Brain fart, I guess. You only need one of each piece cut out of the interfacing.Adorable face is optional •_•
Iron the fusible interfacing to your felt. Parchment paper is a good idea here. Use some pressure, and only keep the iron over the piece for a few seconds at a time until the interfacing appears to be stuck.
See, stuck.
Double your felt piece and cut. This way you'll have perfect matches (pattern is asymmetrical), and it saves some time. Leave about a millimeter of felt around the edge of the interfacing.
Repeat the process with the frosting. Now you can decorate your frosting piece (stitch on the side with interfacing,it has more stability and if you're using a light color of felt the thread will not show through) however you like. I decided on Christmas-y French Knot sprinkles.
Use any stitch you like to attach the front and back pieces together. For the cake, I used a running stitch, then just added a few big lines for decoration. When starting to stitch the frosting, lay the cake piece over the top to get an idea where you will need to start and stop stitching.
I used a blanket stitch along the top of the frosting, now I have gotten to the point where I need to stuff (i Just chop up some of the scrap felt) and insert the magnet and cake piece.
Once everything is in place, continue stitching, but rather than going all the way through the layers, only pick up the front layer of the cake and frosting...
...Like so. Then continue this process around to the back.
Tie off your thread, and you're done!
Woo! One down, 24 to go!


This is going to be awesome! I can't wait to see all your creations!
ReplyDelete